Why Your Braids Bubble at the Sides (And How to Fix It)
Learn why your braid lifts and bubbles near the ears — and the simple fix most beginners miss.

If you’ve ever finished a braid, stepped back, and wondered why the sides are puffing out or lifting, you’re not imagining it — something small is going wrong. And it has nothing to do with the braid itself.
It comes down to one thing parents rarely think about: your body position while you braid.
This is one of the biggest hidden reasons braids look loose or messy, especially around the area behind the ears. I’ve seen this in the studio hundreds of times — and once you understand it, your braids instantly look neater and last longer.
Let’s break it down.
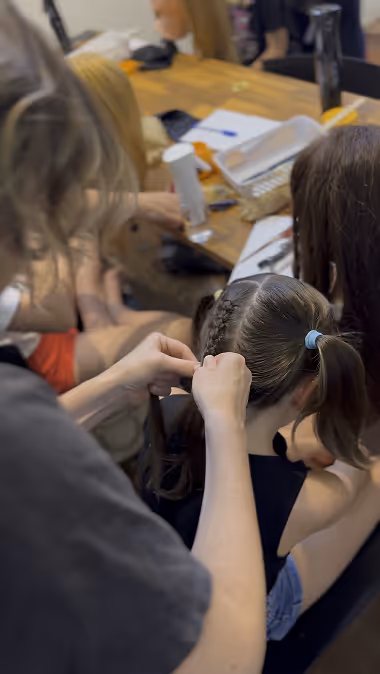
The moment the braid reaches the “danger zone” — behind the ear
Up until the ear level, most parents do a great job keeping the braid neat. The trouble kicks in when you reach that little curve behind the ear and start transitioning toward the nape of the neck.
This is where your braid needs to lie close to the head.
But what most people do is this: They stay standing.
And that completely changes the angle of your hands.
When you stand tall while braiding low, your arms naturally lift the side sections upward as you feed them in. It doesn’t feel like you’re lifting — but you are.
Even a small upward tug turns into:
- stretched side sections
- bubbles that sit above the braid
- a braid that lifts instead of hugging the scalp
When the braid falls into place later, those stretched pieces have nowhere to go — so they puff out.
And you think, “Why does this ALWAYS happen?”
This is why.
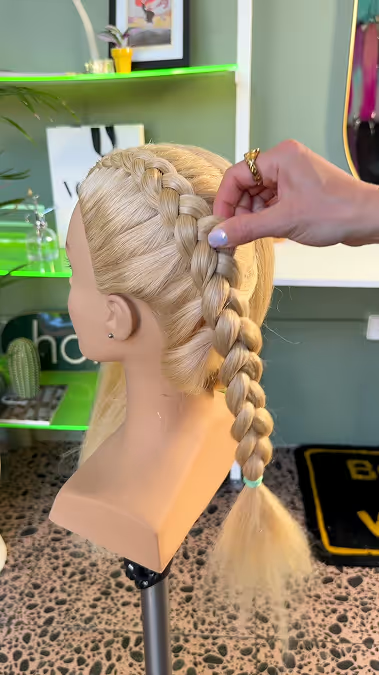
The fix is simple: sit down when you reach the nape
This is one of those tiny changes that gives massive results.
When you grab a chair and bring your body down to the level of the braid, everything changes:
- your eyes are directly level with the braid
- your arms stop pulling sections upward
- the braid stays flat against the head
- tension stays consistent
- the sides stay neat and secure
This one adjustment is why some parents walk out of my workshops saying, “I can’t believe no one ever told me this.”
It’s not obvious — but it’s a game changer.
Real-life example from the studio
A mum recently came in and said, “My braids always look great until the last third. Then it all goes to hell.”
I watched her braid.
She was doing everything right — perfect sectioning, great tension, clean technique. But the moment she reached the nape, she stayed standing while braiding at the nape and was unintentionally lifting the side sections up. That tiny lift was stretching every side piece she added in. Which made them too long when the braid fell into place later.
I grabbed a chair, asked her to sit down when she reached the nape on the other side, and the next braid she did looked completely different. Smoother. Flatter. Longer lasting
She literally said, “I thought I was bad at braiding. It was just the chair.”
Your body position matters more than you realise
Most parents focus on hand placement, tension and sectioning.
And those things matter — but if your body position is off, everything else falls apart.
Think of it like driving: You can be great at steering, but if you sit too far from the wheel, nothing feels right.
Braiding is the same. If you’re too high above the braid, you lose control of the sides and make your work harder than it needs to be.
The takeaway
Your braid isn’t messy because you “can’t braid.” It’s messy because no one taught you how to position your body for the lower part of the braid.
So remember:
- Stand for the top
- Sit for the nape
- Keep your eyes level with the section you’re working on
Neat sides, smooth tension, and braids that actually last.
Want to learn to braid your kids hair?
If you want braiding to finally feel simple instead of stressful, I’ve created an online course that breaks everything down step by step — exactly how I teach parents in my in-person workshops.
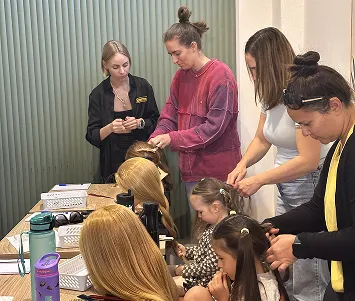
What we do
From world-class braiding services to workshops and online courses that build confidence.